Wednesday, April 1, 2015

A Complete Guide to Setup a CO2 system


If you ask any of the aqua hobbyists, they will tell you one of the most important factor for a successful planted aquarium, is the injection of CO2.

In planted aquarium, CO2 is often the limiting factor. With higher CO2 level, aquarium plants flourish and grow. Without sufficient CO2 level, plants are unable to utilize the necessary nutrients, and instead allow algae to grow.

Pressurized CO2 System is the best and most effective way for introducing CO2 into your aquarium.

Equipment for pressurized CO2 system can often looks complicated to a beginner hobbyist. Today, we like to break down the installation to few simple steps   

What is commonly found in pressurized  CO2 system?

Items
Usage
CO2 cylinder
Storage of CO2
CO2 regulator
Regulate the speed of CO2 release
CO2 Bubble counter
Allow user to calculate the speed of CO2 release
CO2 check valve
Prevent aquarium water to flow into the CO2 cylinder
CO2 tubing
Connect the regulator to the diffuser
CO2 diffuser
Create CO2 micro bubbles in aquarium, allow more CO2 to dissolve in water


We will use our ANS Professional CO2 System to demonstrate the setup. In the later part, we will give more details and properties for each items used.


CO2 Cylinder
CO2 cylinders basically store your CO2! It usually comes in aluminum or alloy steel material. Aluminum cylinders are lighter and have better appearance and are more expensive. Alloy Steel cylinders are durable and cheaper!  


ANS Alloy Cylinder 
ANS Alloy Steel CO2 Cylinder is durable and able to withstand high pressurizes CO2. Built in with safety mechanism that prevent any sudden leakage of CO2.
Come in 2L, 3L and 5 Liter cylinder. Choose your cylinder capacity well. Usually, a 2L will last about 4-5 months for a 60 Liter aquarium. You will not like to travel more often than necessary just to get your CO2 Cylinder refill!


CO2 Regulator
CO2 regulator regulates the speed of CO2 release. There are 2 types of regulator (manual/automatic). We usually recommend user to use automatic regulator.

Manual regulator (picture below) has 1 pressure gauges.
ANS Easy CO2 Meter (Precision)

Manual regulator is cheaper, no frills regulator.  It allows CO2 to be controlled and release from the cylinder. However, the CO2 release can be unstable and it will be hard to adjust the amount of CO2 release. It is because manual regulator relies on CO2 cylinder pressure. As CO2 in cylinder gets lesser, CO2 pressure in cylinder decreases, hence affecting the amount of CO2 release. So if you leave your manual regulator on running, you will find the speed of CO2 injection getting slower over time, even if there is CO2 in the cylinder.

Automatic regulator (picture below) has 2 pressure gauges.

One measures the capacity of CO2 stored in the CO2 cylinder. The other measures the output pressure, output pressure gauge provide constant amount of CO2 release regardless of the capacity of CO2 in the cylinder.

ANS CO2 Regulator with solenoid is a 3 in 1 regulator
1. Creates a constant output pressure of 50-60PSI.
2. A fine tune adjuster that allow user to adjust amount of CO2 release accurately and precisely.
3. Integrated solenoid control!


What is the use of solenoid?
Plants need CO2 when light is on and CO2 injection is unnecessary when light is off. Solenoid is use to turn on and off CO2 by simply switching on and off the electrical supply.

Electricity ON = CO2 injection
Electricity OFF = CO2 supply cut off!

Some will ask if they use regulator without the solenoid as they can manually turn the fine tune adjuster off at night and turn it on daily! However, from a season hobbyist, most will tell you this daily ritual can be very tiring.  It will be easier to control the CO2 by just a flip of a switch.  Furthermore, you can also connect ANS CO2 Regulator with solenoid to common electronic 24hr timer.  With this you can leave the system running for months without you touching it. 

Solenoid on a timer


Bubble Counter
Bubble counter is use to measure the amount of CO2 injected into your aquarium. It is important to know how much CO2 is injected to your aquarium as too much CO2 may suffocate your fishes and shrimp, while too little will stunned the growth of plants. As a guide, a fully planted aquarium should inject 1 bubble/second for every 30 – 45 liter of water. You can also get a CO2 Checker to check the amount of CO2 in your aquarium.


ANS Brass Bubble Counter


ANS Brass Bubble Counter is fabricated out of brass metal and thick glasses that can withstand high pressurize CO2 output without losing shape. It clear glass column allows easy counting of CO2 bubbles. It is also integrate with a brass check valve to prevent back-flow of water.


Check Valve (One Way Valve)
Check Valve prevents water from aquarium to flow back to your CO2 cylinder. It is important to have a check valve because if water enters the cylinder, it can cause rust in the interior of the cylinder and prevent proper CO2 refilling.

ANS CO2 Brass Check Valve

ANS Brass Check Valve is an excellent check valve that prevents no water flows back to your CO2 Cylinder even under high pressurize CO2 output.


CO2 Tube
There are many types of tube available. We do not use the same that we use with air pump.  The common air pipe will not be withstand the pressure needed for CO2 system and may leak CO2 after sometime.

ANS CO2 Resistant Tube
ANS CO2 Resistant Tube is design to support high pressurize CO2 output and do not degrade over time.


CO2 Diffuser
CO2 Diffuser are use to diffuse CO2 efficiently into your aquarium. There are various types of diffuser available.


ANS Opti Glass Diffuser Nano
ANS Opti Glass Diffuser Nano creates micro bubbles through a ceramic disc that effectively diffuse CO2 into the water. The more CO2 dissolved in water the more CO2 available for plants.  So it is important to have a diffuser rather than just a normal air stone. Opti glass material use in the diffuser gives elegant visual effect to your planted aquarium.


CO2 monitor device (Optional)
As all planted aquarium are different, the amount of CO2 intake by plants are different. To measure accurately if the amount of CO2 is enough, we use CO2 monitor device. CO2 monitor device accurately measure the amount of CO2 dissolved in the water.


ANS Drop Checker measure accurately the amount of CO2 in the water. Opti glass material used enhances elegant visual effect to your planted aquarium.


Things to take note when using CO2 System:
  1. Do not place CO2 Cylinder under sun or hot area
  2. Do not place CO2 Cylinder at a damp area
  3. Use high grade check valve to prevent water from flowing back to the cylinder

ANS Professional CO2 System is a complete CO2 System. Come with everything needed for a CO2 system. Plug and play.
ANS Professional CO2 System


ANS Professional CO2 System includes:
  • ANS Alloy Cylinder 
  • ANS Co2 Regulator with Soleniod
  • ANS Brass Bubble Counter
  • ANS High Resistant CO2 Tube
  • ANS Opti Glass Diffuser Nano


******* Join our EOA CO2 refill program *******
We do 1 to 1  exchange of CO2 cylinder when you purchase ANS Professional CO2 System from us. Ready immediately, no waiting required.

Friday, March 27, 2015

Why do i have cloudy water and how do i solve it


What causes cloudy water in my aquarium?

The cloudiness is actually a bloom of a kind of organism (bacteria). In an aquarium, the organism usually remains at a very low level and invisible, unless food source are available to them. They feed on wastes that are found in the aquarium. The more waste that is available to them, the more they bloom. As they bloom, they fill up the aquarium, becoming visible to the naked eye, resulting cloudy water.

How do we clear up the cloudy water in the aquarium? 

To clear up cloudy water, waste level in the aquarium has to be reduced. Without the food source for the organism to bloom, it will reduce to a low level of existence in the aquarium. In turn, the cloudy water in the aquarium will clear up.

Some of the common issues that cause waste level to increase are:

1.       Over-feeding the fish that results in leftover food in the aquarium.
2.       Overcrowding in the aquarium.
3.       Dead plant or fish not removed from the aquarium.


Ways to reduce waste level in your aquarium

1. Do Regular Water Change

Doing regular water change will remove waste product and the organism physically. Change only 20%-50% of the water weekly, depending on the cloudiness of your aquarium. As changing too much water may result in dying live stocks due to the sudden change in the environment for them.

Regular water change is important as it helps in improving the environment for the live stock.


2. Add Beneficial Bacteria

Beneficial bacteria help in breaking down waste product biologically through the process of Nitrogen Cycle.

Adding beneficial bacteria regularly will help to maintain a low level of waste in the aquarium and prevent any sudden bloom in cloudiness even when there is a dead plant or fish not removed from the aquarium.

Some of the recommended beneficial bacteria are:
3. Add ANS Clearmax into filter

ANS Clearmax removes waste products by absorbing them, keeping the waste level low. Changing it every month helps to maintain crystal clear water and healthy water conditions for all live stocks.
It is simple and easy to use, just place it in the filter and ANS Clearmax will do wonders.


Special case

In some cases, cloudy water is caused by the accumulation of tiny floating particles that the filter is unable to remove. In such cases, clarifier solutions are used to clear the water by clumping these tiny floating particles together, forming particles large enough to be removed by the filters.

One common scenario for such cases is when new gravels or substrate are added into the aquarium. New gravel and substrate usually have a lot of tiny floating particles in it.

Clarifier solutions that we recommend: 
************Please Take Note************
Although the above ways are effective in keep your water clean and crystal clear, there are still factors that should be taken note of. Factors like overfeeding, overcrowding and having dead plants and/or fish in aquarium are not to be overlooked. Cloudy water would still occur if these factors remain unsolved.

Friday, March 13, 2015

4 simple steps to reduce the need of water change for your aquarium


We change water to remove waste and toxic in aquarium that will harm fish’s health.  To reduce need of water change, we will need to remove waste and toxic in the aquarium.

Here are 4 simple steps to how we remove waste and toxic in aquarium reduce need of water change.

Step 1: Get a good filter

A good filter is important as it remove waste and toxic in the aquarium effectively, it also provide good water circulation to maintain good water quality. There are many type of filter available. 


Guidelines: Flowrate (L/H) of filter need to be about 4 – 6 times of total water in aquarium. For example, a 60 litre aquarium needs to have a filter with 240L/H – 360L/H flowrate.


Step 2: Adding beneficial bacteria every week

Adding beneficial bacteria helps to break down waste biologically through the process referred as nitrogen cycle. it break down from highly toxic ammonia (NH4) to nitrite (NO2) to the least harmful nitrate (NO3).
 
Adding once every week will help to keep ammonia and nitrite at zero level. Most importantly, it prevents any sudden increase of ammonia in the water that will kill you fishes.

Some good beneficial bacteria are:
EIHO BacterGold
- JBL Denitrol


Step 3: Add ANS Clearmax in filter

Although nitrate (NO3) is the least harmful in the nitrogen cycle, it is still harmful to fishes when accumulated to a high level. We need to keep nitrates at a low level.

ANS Clearmax removes nitrates in the water effectively, keeping nitrate at a low level. It also removes toxins and ammonia, improving water quality and restores crystal clear water. Hence, reduce need of water change and tank maintenance.


Step 4: Get algae eaters and bottom feeders

Algae eaters will help to clear up algae keeping your aquarium clean. Algae eaters are otocinclus, Siamese algae eater and pleco

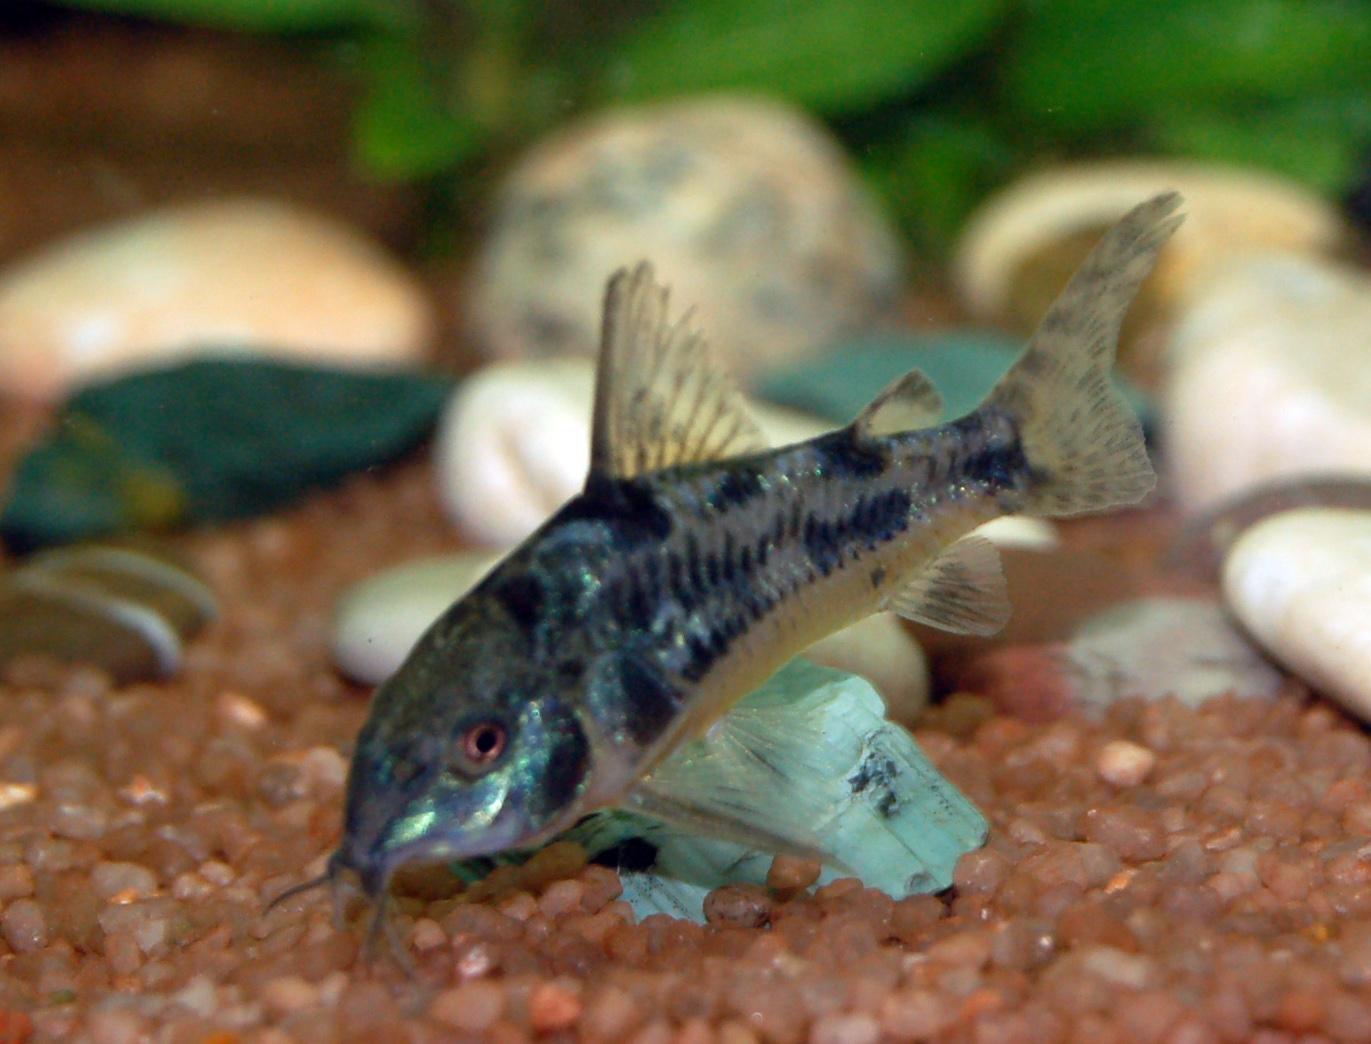
Bottom feeders will help to clear up leftover food or waste at the bottom of the aquarium. Bottom feeders are loaches and corydoras.

Guidelines: 1 algae eater and 1 bottom feeders to 15 litre of water

Otocinclus
 Corydoras


Tuesday, January 27, 2015

Hardscape Buying Guide


Hardscape is a vital element in aquascaping as it is the bones of it.
If you are able to get the hardscape right, the rest of the scape will fall into place easily and effectively.
We have a wide variety of hardscape that you can choose from for your aquarium.

Rocks

  • Grey silver in color
  • Rough edges
  • Commonly used
  • Good choice Iwagumi style
  • Mixed well with ANS Spiderwood

  • Black with white stripe
  • Good for mountain like scape
  • Popular among hobbyist
  • Black-grey color
  • Moderately rough
  • Angular shape

  • Yellow-Brown color
  • Smooth texture
  • Create soft image to scape


ANS NatureDeco Miyabi Stone
  • White with black dots
  • Smooth Texture


ANS NatureDeco Volcanic Rock
  • Red-brown colour.
  • Light weight
  • Rough, porous texture.
  • Ideal for planting mosses

ANS NatureDeco Hanjo Rocks
  • Wood-like color.
  • Petrified wood
  • Create natural and soft image to scape
  • Popular among hobbyist
  • Easy choice of any type of scape


ANS Rocky Crismon+
  • Ruby Red color
  • moderately rough
  • Angular shape

ANS NatureDeco Dragon Rock
  • Light brown-red color
  • Lots of crannies
  • suitable for planting ricca flutians and mosses on


ANS NatureDeco Cichlids Rock
  • Dark Grey Color
  • Flat sightly rough surface
  • suitable for planting ricca flutians and mosses on


ANS NatureDeco Matama Rock
  • Dark Brown Color
  • Rough surface
  • Lots of crannies


Woods

ANS NatureDeco Old Black Driftwood
  • Rich dark brown color
  • Sinks in water after couple of days
  • Unique shape and form


ANS NatureDeco Spider Wood
  • Light Brown Color
  • lot of branches, spidery form
  • Natural look
  • Required to be tied down for a period or soaked in water before scaping to prevent the wood from floating initially

~~~~~~~~~we are having a sales from 27/1 - 18/2~~~~~~~~~
All Hardscape Woods and Rocks are at 20% discount now
Get it while stock last!!


Wednesday, January 14, 2015

Setup a 10L shrimp tank with only $77.50


Equipment needed:


9 Litre Aquarium Package: $58
-          Tank (18 x 15 x 20cm)
-          Shiruba PF60 Hang-on Filter
-          UP Aqua Shrimp Soil
-          JBL Biotopol C


Plant and Moss: $19.50
- Echinodorus tenullus x 1
- Christmas Moss on Rock X 5

Total : $77.50

Clean the tank, make sure it is clean

UP Aqua Shrimp Soil was adopted by special formula with refine manufacturing process and been through testing by expert of shrimp keeping. Shrimps not only grew and bred but also increased the survival rate of baby shrimp.

Pour in the Shrimp Soil and spread evenly

Wet the soil with water. (tap water is fine)

Add in your plants. we add in low maintenance plants and non bushy plants so you will be able to see shrimp activities going around in the tank rather than hiding in the bushes

Add in filter and run for 24hrs before adding shrimp to the tank.


20 pcs of Shrimps added in the tank after 24hrs.
Tank was setup on 7/1/15 and is still doing good in the tank